DIY Controller Part Selection Guide
Key Factors for Part Selection
There are five key factors for part selections
Compatibility
Which devices you want to use the controller with
Quality
How good you want it to be in terms of durability, switch feel, texture, etc
Cost
How much money and materials you want to spend
Effort
How much time do you want to spend
Equipment
What tools do you have available to you, or are willing to acquire
Note that
An increase in Quality requires an increase in Cost and/or Effort
An increase in Cost allows an in increase in Quality and/or a decrease in Effort
An increase in Effort allows an increase in Quality and/or a decrease in Cost
Case
There are many ways to make a DIY controller chassis, and the case you choose has a massive impact on your controller’s Quality, Cost, and amount of Effort required.
I will go over several popular options, but these are by no means the only options. I recommend looking through #diy-gallery in my Discord Server for inspiration.
If you have woodworking, metalworking, or 3D printing Equipment, that opens up even more possibilities.
Hammond 1441-26BK3 and 1441-26

Hammond 1441-26BK3 (Will be getting one soon for pictures) ~$45
The Hammond 1441-26BK3 is a 16” x 8” x 2” steel case with four pre-drilled screw holes in each corner. It also comes in gray, as the Hammond 1441-26. This case is sold on various part distributors such as Digikey, Mouser, and Arrow.
Hammond 1441-26BK3 Authorized Distributors (Black)
Hammond 1441-26 Authorized Distributors (Gray)
I would recommend checking the shipping costs for each distributor to find the best deal.
This is a very popular case option as it is very rigid, feels nice to the touch, requires minimal effort, requires little to no equipment, and is not too expensive.
Laser Cut Top Panel Advice

1.5mm Stainless Steel panel cut by SendCutSend ~$35
I highly recommend SendCutSend for laser cutting metal panels. They are incredibly fast, have free shipping, and have excellent prices.
You can find some of my .dxf layout files here to order through laser cutting services like SendCutSend. If you want to modify these files or create you own, I recommend the CAD program Fusion360.
They are also branching in Wood, Acrylic, Carbon Fiber, and other materials, so they may become the one stop shop for laser cutting in the US.
MX Form Factor Keyboard Switches
If you are using MX like keyboard switches, I recommend using 1.5mm stainless steel. 1.5mm is what you need for the switches to snap in properly, and steel is super rigid and not too expensive. Acrylic and wood would be far too flimsy, aluminum would probably be fine but a bit less rigid than steel, and brass/carbon fiber would work well but be far more expensive.
Snap In Buttons
If you are using 24mm snap in buttons (like Sanwa OBSF-24), I would recommend a 3.2mm ACM or Aluminum panel from SendCutSend.
If you want to use laser cut wood or acrylic as your top panel, I would recommend getting two 3mm panels. Sanwas will only clip into panels that are ~3mm thick with 24mm holes. Just a 3mm thick acrylic/wood panel though will flex in the middle. To solve this, I add another 3mm panel beneath the top panel. This one has 26mm holes, which allows the buttons to still clip in.
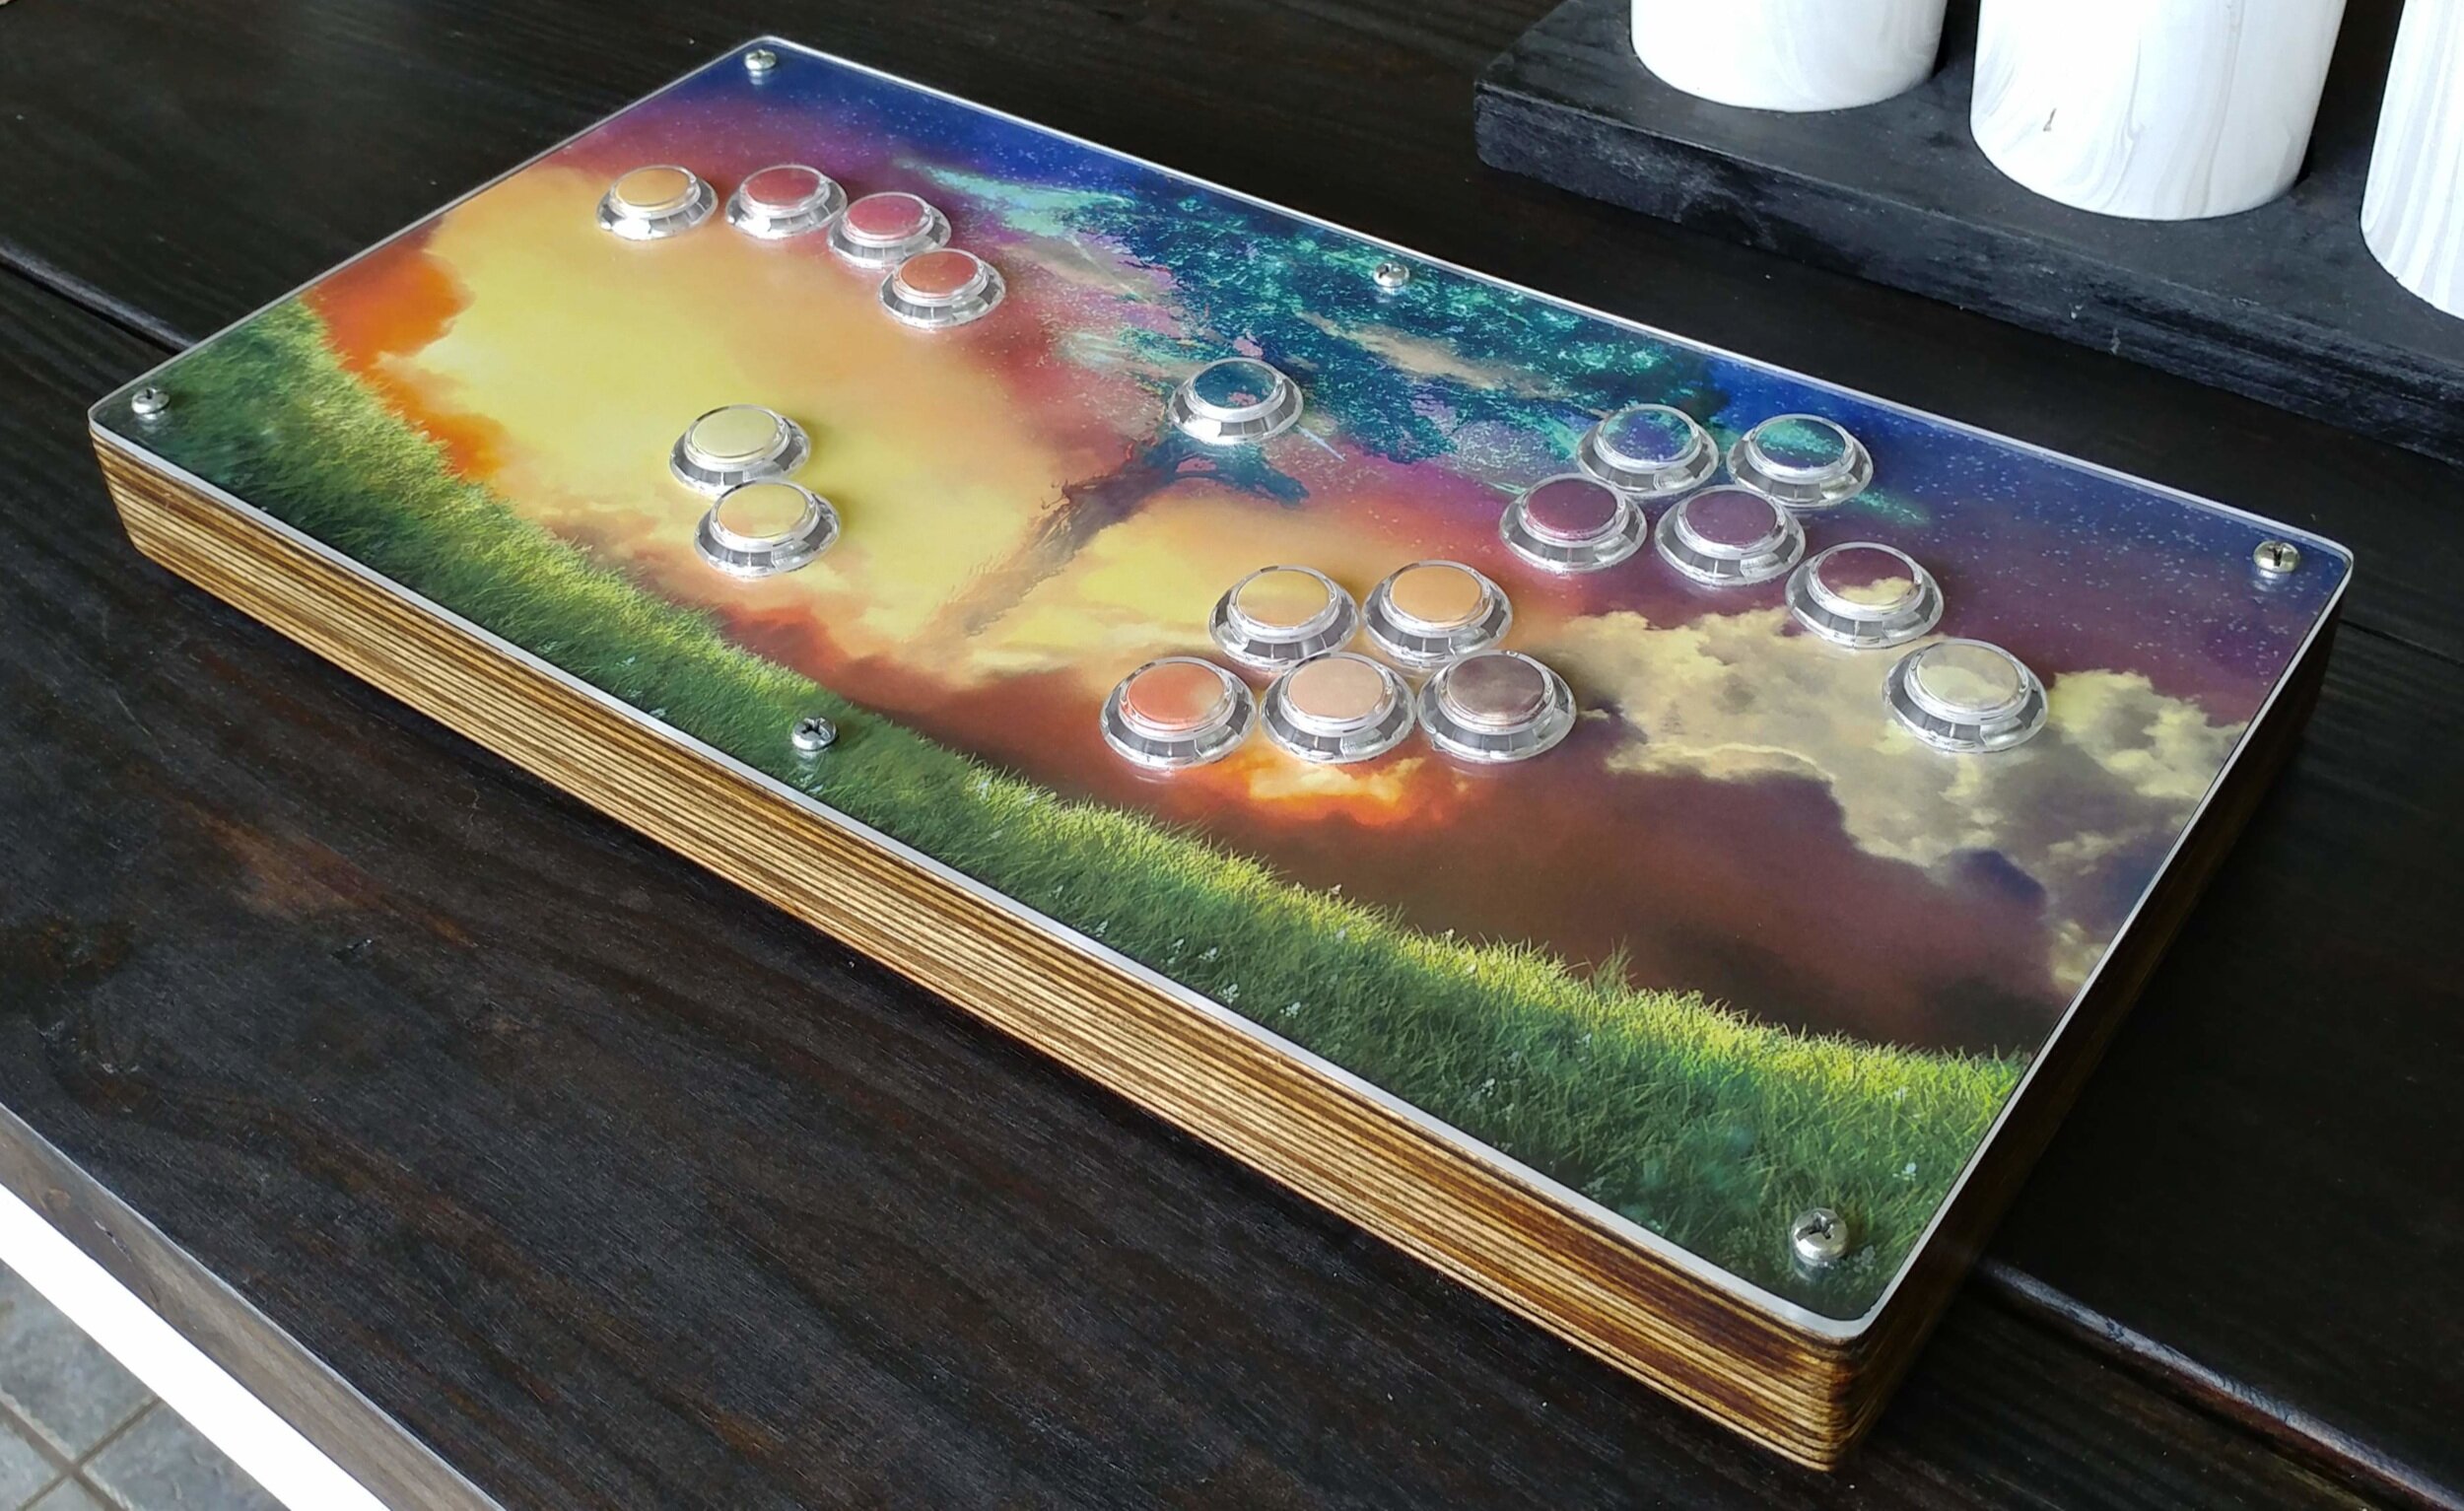
Screw in Buttons
If you are using Crowns screw in buttons you could use just one 6mm acrylic or wood panel with 24mm holes rather than two 3mm ones. (Unless you want art, then you'd want a clear 3mm panel and some other 3mm panel)
And like with snap in buttons, just a 3mm aluminum or ACM panel is fine too.